Woodworking Tips for Beginners Part II
Wood Gluing Tips
Many woodworking projects require gluing. There are many types of glues and epoxies but they all have some common requirements which we will focus on in this post.
Mask Glue Joints Before Assembly/Finishing
I suggest you finish the individual parts of your woodworking project before you assemble them. This can be an excellent and provide a better quality final finish for your project. Strong glue joints begin with clean wood surfaces. So for a strong glue joint, you need to keep the joints free of finish, stain, etc because it will impede the gluing process. One approach is to apply masking tape to the surfaces that will be glued. Then, remove the tape to expose “clean” wood when you glue up the project. If you are using a water-based finish, you’ll get the best results with a “no-bleed” tape such as green Frog Tape and ScotchBlue painter’s tape.
I suggest you finish the individual parts of your woodworking project before you assemble them. This can be an excellent and provide a better quality final finish for
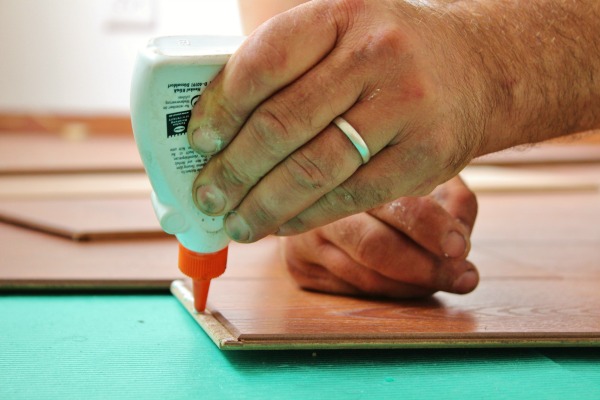
your project. Strong glue joints begin with clean wood surfaces. So for a strong glue joint, you need to keep the
Then, remove the tape to expose “clean” wood when you glue up the project. If you are using a water-based finish, you’ll get the best results with a “no-bleed” tape such as green Frog Tape and ScotchBlue painter’s tape.joints free of finish, stain, etc because it will impede the gluing process. One approach is to apply masking tape to the surfaces that will be glued.
Cover Bar Clamps With Wax Paper
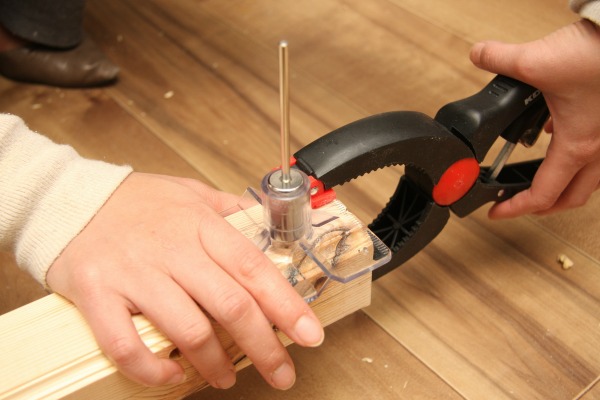
The moisture in glue can cause the metal to leave a dark mark on your wood when using steel bar clamps or pipe clamps and the wood glue comes in contact with the clamp. As a quick fix, place a sheet of wax paper over the clamps to prevent this “dark spot” problem. It will also catch glue drips that would otherwise get make a mess on your clamps and workbench.
Use a Notched Trowel (or Credit Card) to Spread Glue
An inexpensive notched plastic trowel works great for spreading glue when gluing large surfaces. They can be found in the flooring or tile section of most hardware stores or home centers. You can make our own spreader from an expired credit card if the family sewing basket has a a pair of “pinking” shears.
Remove Squeeze-Out Glue
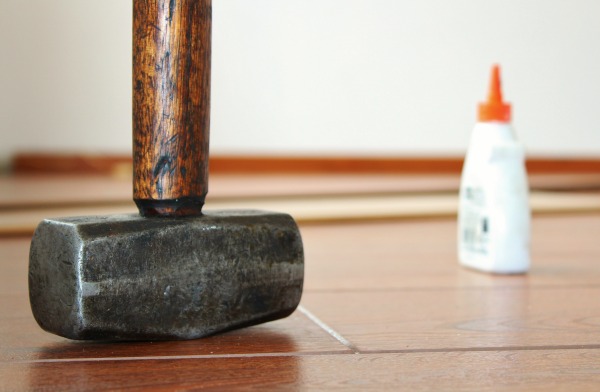
There is an old, on-going debate about the best way to remove glue that has been squeeze-out from a joint. Some insist that you should clean it up immediately with a damp rag. Others believe that the glue should be allowed to
completely dry, then scraped off. My opinion is to use the wet rag method, if it does not make a bigger mess. Your other option is to wait for approximately one hour and the glue will begin to cure. At At this point, the glue will often turn a darker color and becomes more gel-like. A sharp chisel can be used to shave the glue off with little to no mess. The benefit here is little to no mess and a much easier cleanup than removing hard glue. However be careful not to chisel into the wood.
Nail Before Glue
Wood glue makes often makes boards slippery and hard to handle. It is important that the boards be properly lined up if gluing with clamps. An easy solution is to hold the parts in alignment with a few strategically placed brads before you apply the clamps. You can cut your parts extra long and place the brads where they will be cut off during the finishing process or place the nails where the filled holes won’t be too visible.
Meet the Author
Dr. Todd Shupe is the President of Wood Science Consulting, LLC. He is a well-recognized expert on wood forensics, wood preservation, wood decay and degradation, and wood species identification. He has a broad background in new product development, quality management, and marketing and sales in both the public and private sectors. For more information please visit DrToddShupe.com.
We welcome your comments below.
Thank you for visiting. We trust that you have enjoyed reading our articles.
Liked this post? Read more below or search for more topics . . .


